
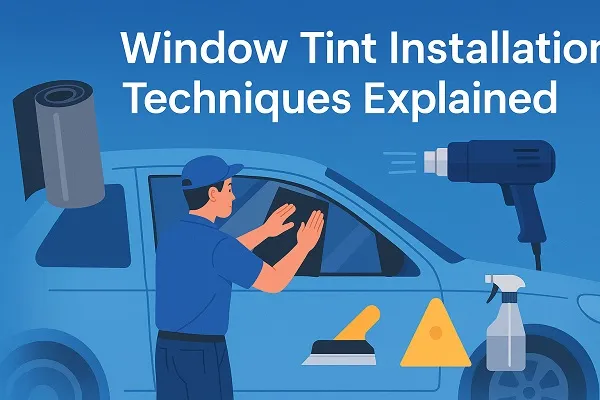
Window tint installation techniques are the foundation of achieving a flawless, professional finish. The right approach ensures the film fits perfectly, adheres without bubbles, and lasts for years. Each method has its own purpose depending on the type of glass, the shape of the window, and the installer’s level of expertise. Below are the primary techniques used in the industry, explained in detail.
Dry Shrink Method
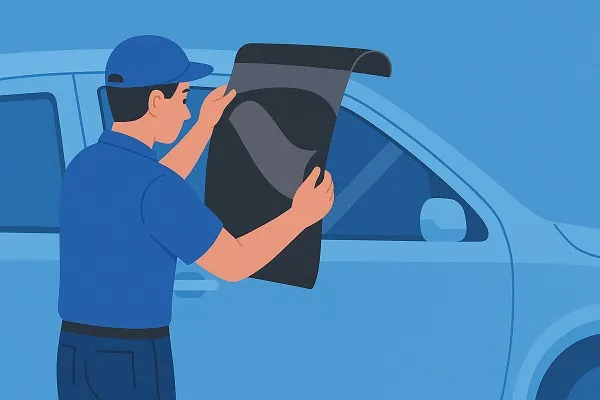
The dry shrink method is widely used for shaping window film to curved glass surfaces, especially in vehicles.
How It Works
- The film is placed on the outside of the window (non-adhesive side against the glass).
- A heat gun is applied while the film is gently pressed with a hard card.
- The heat causes the film to shrink and contour to the glass shape.
- Once shaped, the film is transferred to the inside of the glass for final installation.
Advantages
- Precise fit on complex, curved windows.
- Minimizes risk of overstretching the film.
- Produces a smooth, professional finish.
Considerations
This method requires skill with heat application. Overheating can distort or burn the film.
Wet Shrink Method
The wet shrink method is another approach for conforming tint to curved windows, though less common among professionals.
How It Works
- A slip solution (soap and water mix) is sprayed on the film.
- The installer gently pulls and stretches the wet film across the window.
- Squeegees are used to hold the film in place while shaping continues.
Advantages
- Easier for beginners to attempt.
- Reduces risk of burning compared to dry shrinking.
Considerations
- Less precise on heavily curved glass.
- Film can wrinkle if overstretched.
- More difficult to master for large or complex shapes.
Reverse Roll Technique
The reverse roll technique is particularly helpful when applying tint to large windows, such as commercial glass panes or oversized car windows.
How It Works
- The film is rolled onto a hard card or tube with the adhesive side facing out.
- The installer unrolls it directly onto the wet glass surface from one edge to the other.
- A squeegee is used simultaneously to flatten the film and remove water.
Advantages
- Reduces the chance of the film folding onto itself.
- Useful for managing large sheets of tint.
- Saves time during installation.
Considerations
Requires careful alignment from the start since repositioning can be tricky once unrolled.
Top-Down and Bottom-Up Methods
These are positioning techniques that determine how installers align and apply the film.
Top-Down Method
- The film is anchored at the top edge of the window.
- Gravity assists in lowering the film smoothly down the glass.
- Ideal for vertical windows.
Bottom-Up Method
- The film is anchored at the bottom.
- The installer works upward, pushing bubbles and water toward the top.
- Useful when the top edge is harder to reach (e.g., in certain vehicles).
Advantages
- Offers flexibility depending on window design.
- Helps control dust or debris entering from different directions.
Heat Forming
Heat forming is often combined with other techniques for precision. It involves using controlled heat to mold the film perfectly to the window surface.
How It Works
- A heat gun or torch is applied in sweeping motions.
- The film is carefully pressed into tight corners, edges, or complex curves.
- The installer uses a hard card to smooth the heated film.
Advantages
- Achieves exact conformity to intricate glass shapes.
- Prevents creases on domed or angled glass.
- Enhances durability of the installation.
Considerations
Must be performed with caution — excessive heat can damage both the film and the glass.
Overlap and Trim Technique
This technique ensures a clean, custom fit for every window.
How It Works
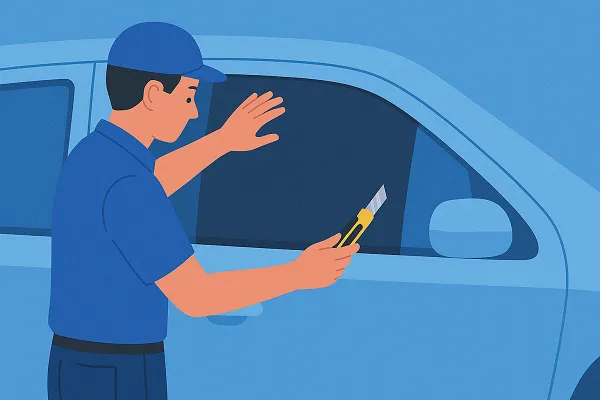
- The film is applied slightly larger than the actual window size.
- A sharp utility knife is used to trim the excess along the window edge.
- The edges are sealed with a squeegee to prevent peeling.
Advantages
- Creates a seamless appearance.
- Prevents gaps where light could pass through.
- Ensures the film fits tightly within the window frame.
Double-Cut Technique
For windows with multiple panes or overlapping sections, the double-cut technique is highly effective.
How It Works
- Two pieces of film are applied with overlap.
- The installer cuts through both layers with a sharp blade along the seam.
- The excess is removed, leaving perfectly aligned edges.
Advantages
- Produces invisible seams between sections.
- Saves time compared to cutting each section individually.
Two-Stage Squeegee Method
The squeegee process is critical in every installation, but this method refines it into two passes.
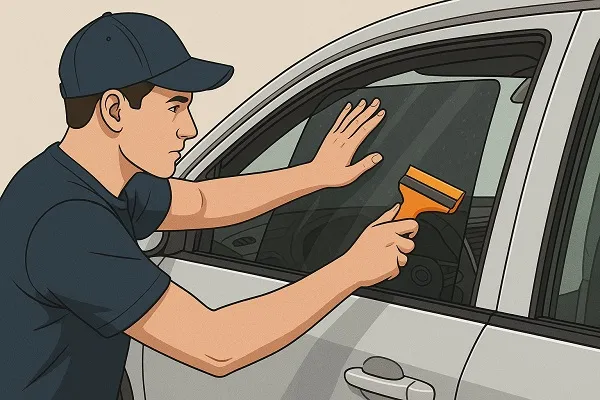
Step One – Initial Pass
- A soft squeegee removes most of the slip solution and air bubbles.
- Gentle strokes prevent film shifting.
Step Two – Final Pass
- A harder squeegee or hard card applies firm pressure.
- Remaining water and air are pushed out to the edges.
- The film fully bonds to the glass.
Advantages
- Ensures maximum adhesion.
- Reduces risk of bubbles appearing later.
Edge Sealing
For certain installations — such as vehicles exposed to extreme conditions — edge sealing adds extra durability.
How It Works
- A small amount of edge sealant or clear adhesive is applied around the perimeter of the tint.
- The sealant prevents peeling caused by moisture or cleaning.
Advantages
- Increases lifespan of the tint.
- Offers added protection in high-humidity areas.
Window tint installation techniques vary depending on the project and the installer’s preferences. From dry shrinking for precision curves to the reverse roll method for large glass panes, each approach ensures a smooth, lasting finish when done correctly. Understanding these techniques highlights why professional installation often provides superior results, though skilled DIYers can achieve great outcomes with patience and practice.